
Download Dry Air Filter Cleaning Instructions
A dry, oil-free air filter is built to make maintenance cleaner and easier than a traditional oiled filter. There is no re-oiling step, no sticky residue, and no guesswork about whether the filter has been treated correctly after thorough cleaning.
Over time, dirt, dust, bugs, leaves, and road debris can collect in the filter media. If enough contamination builds up, airflow can be affected, and the filter may not perform the way it was designed to. The good news is that a cleanable, washable, non-oil wetted air filter can be serviced at home with simple supplies and a careful process.
Here is how to clean a PFP dry, oil-free air filter the right way.
What You Need To Clean a PFP Dry Air Filter At Home
You do not need harsh chemicals or specialty solvents to clean a dry, oil-free air filter from Performance Filtration Products (PFP).
You can clean the filter using warm tap water and dish soap, such as Dawn. You can either soak the filter in a bucket with the cleaning solution or use a spray bottle filled with a mild soap-and-water mixture.
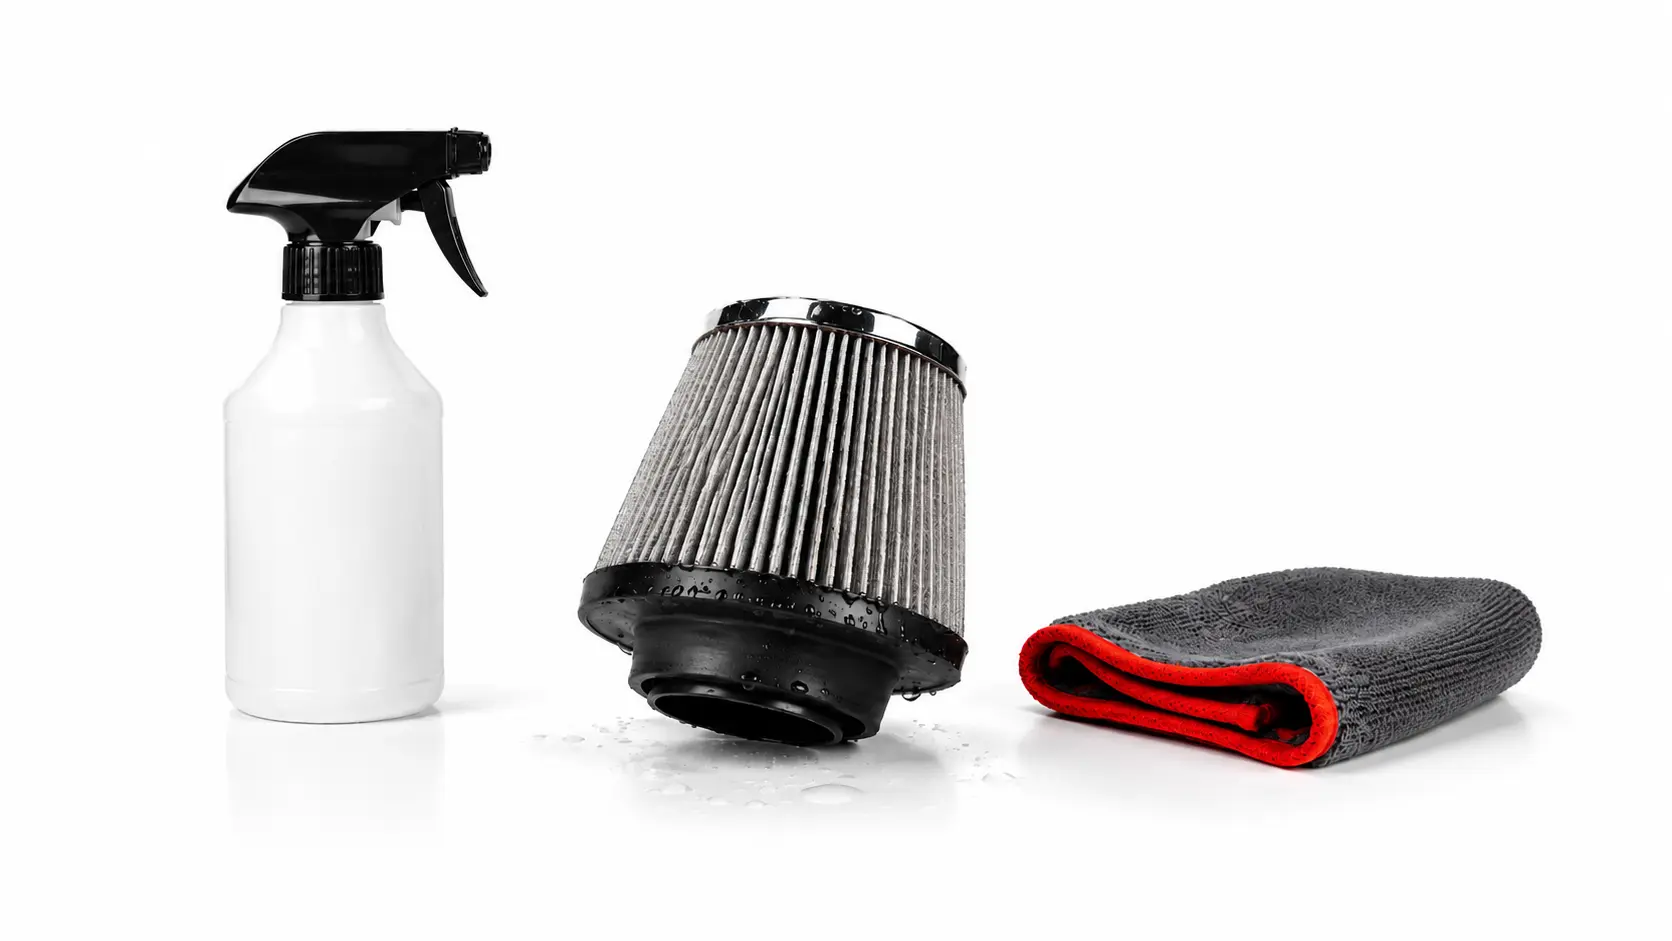
A basic cleaning setup may include warm water, dish soap, a bucket or spray bottle, a clean towel, and a place where the filter can air dry completely.
The most important thing to remember is what you should NOT use.
- Do NOT use filter oil
- Do NOT use a pressure washer
- Do NOT use a hair dryer, compressed air, or any other heat source to dry the filter
Steps for Cleaning Your Dry, Oil-Free Air Filter
Below are the necessary steps for cleaning your dry, oil-free performance air filter.
Step 1: Shake or Tap Off Large Debris
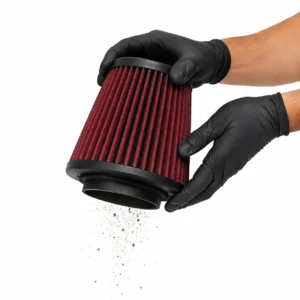
Before using water or soap, start by removing loose debris from the filter.
Shake or gently tap the filter to remove larger particles that may be trapped in the media. This includes dirt, bugs, leaves, and any other larger debris that may be sitting on or inside the filter.
This first step helps keeping the cleaning process simple. You are not trying to scrub the filter or force debris deeper into the media. You are just loosening and removing the larger material before washing.
Be gentle. The goal is to clear the filter, not damage the pleats or media.
Step 2: Soak the Filter With Warm Water and Dish Soap
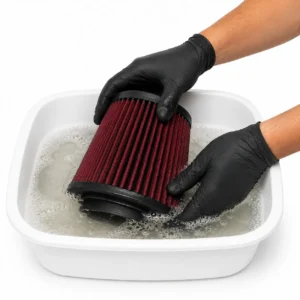
Once the loose debris is removed, prepare a mild cleaning solution.
Fill a bucket with warm tap water and dish soap, such as Dawn. Place the filter into the bucket and let it soak for 8-10 minutes. This gives the cleaning solution time to loosen dirt and contamination from the filter media.
Alternatively, you can use a spray bottle instead of a bucket. Mix 1 teaspoon of dish soap per gallon of warm water, or use Dawn Powerwash, and coat the filter sufficiently.
After spraying the filter, let it soak for 8-10 minutes.
The soaking time is important. Let the soap and warm water do the work. You do not need to attack the filter with aggressive tools or heavy pressure.
Step 3: Rinse the Filter From the Inside Out
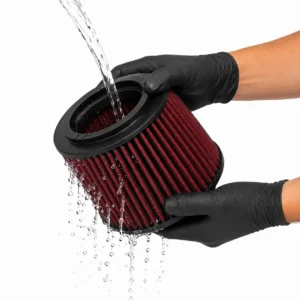
After the filter has soaked, rinse it thoroughly with warm water.
The correct direction is important: rinse from the inside of the filter outward. This helps push dirt out of the filter media instead of driving it deeper into the pleats.
Do not use a pressure cleaner on the filter.
A pressure washer can be too aggressive for filter media and may damage the construction of the filter. Use warm water and allow the rinse to flush the loosened dirt out naturally.
Continue rinsing until the water runs clear and the filter surface looks clean.
Step 4: Shake Out Excess Water and Let the Filter Dry
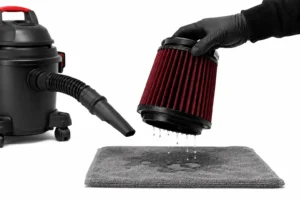
Once the filter is rinsed thoroughly, shake it gently to remove as much water as possible.
After that, let the filter dry completely.
Do not use a hair dryer, compressed air, or any other type of heat source to dry the filter. Heat and forced air can damage the filter media or affect the construction of the filter.
If needed, a Shop-Vac can be used around the outer surface of the filter to help draw water from the filter media. This should be done carefully and only around the outer surface to assist with drying.
Before reinstalling the filter, make sure the filter surface is clean and dry.
Step 5: Reinstall the Filter Once It Is Clean and Dry
Once the air filter is fully clean and dry, it can be reinstalled back into the vehicle.
Do not reinstall the filter while it is still wet. Give adequate time for your freshly cleaned filter to dry before reinstalling. No additional treatment is needed.
How Often Should You Clean a Performance Air Filter from PFP?
For performance applications, we recommend cleaning your filter every 10,000 miles to help ensure optimal performance.
For normal street applications, the filter should be cleaned whenever it looks discolored from dirt.
The right cleaning interval depends on how and where the vehicle is used. A vehicle driven in dusty conditions, off-road environment, or performance applications may need more frequent filter maintenance than a vehicle used primarily for normal street driving.
A simple rule is this: if the filter looks dirty, discolored, or loaded with debris, it is probably time to clean it.

Looking to upgrade your air filter?
Whether you need a custom performance filter, private-labeled products, or OEM solutions, Performance Filtration Products can help you bring your idea to life.

0 Comments